
Introduction
The main disadvantage of a push bot (no dribbler) is that the robot is not able the grip onto the ball when moving backwards or sideways, and must always move forward to keep the ball in the catchment area. A dribbler imparts backspin on the ball so that the robot is able to maintain a good grip on the ball, giving it freedom to move in any direction without losing the ball.
Dribbler Body
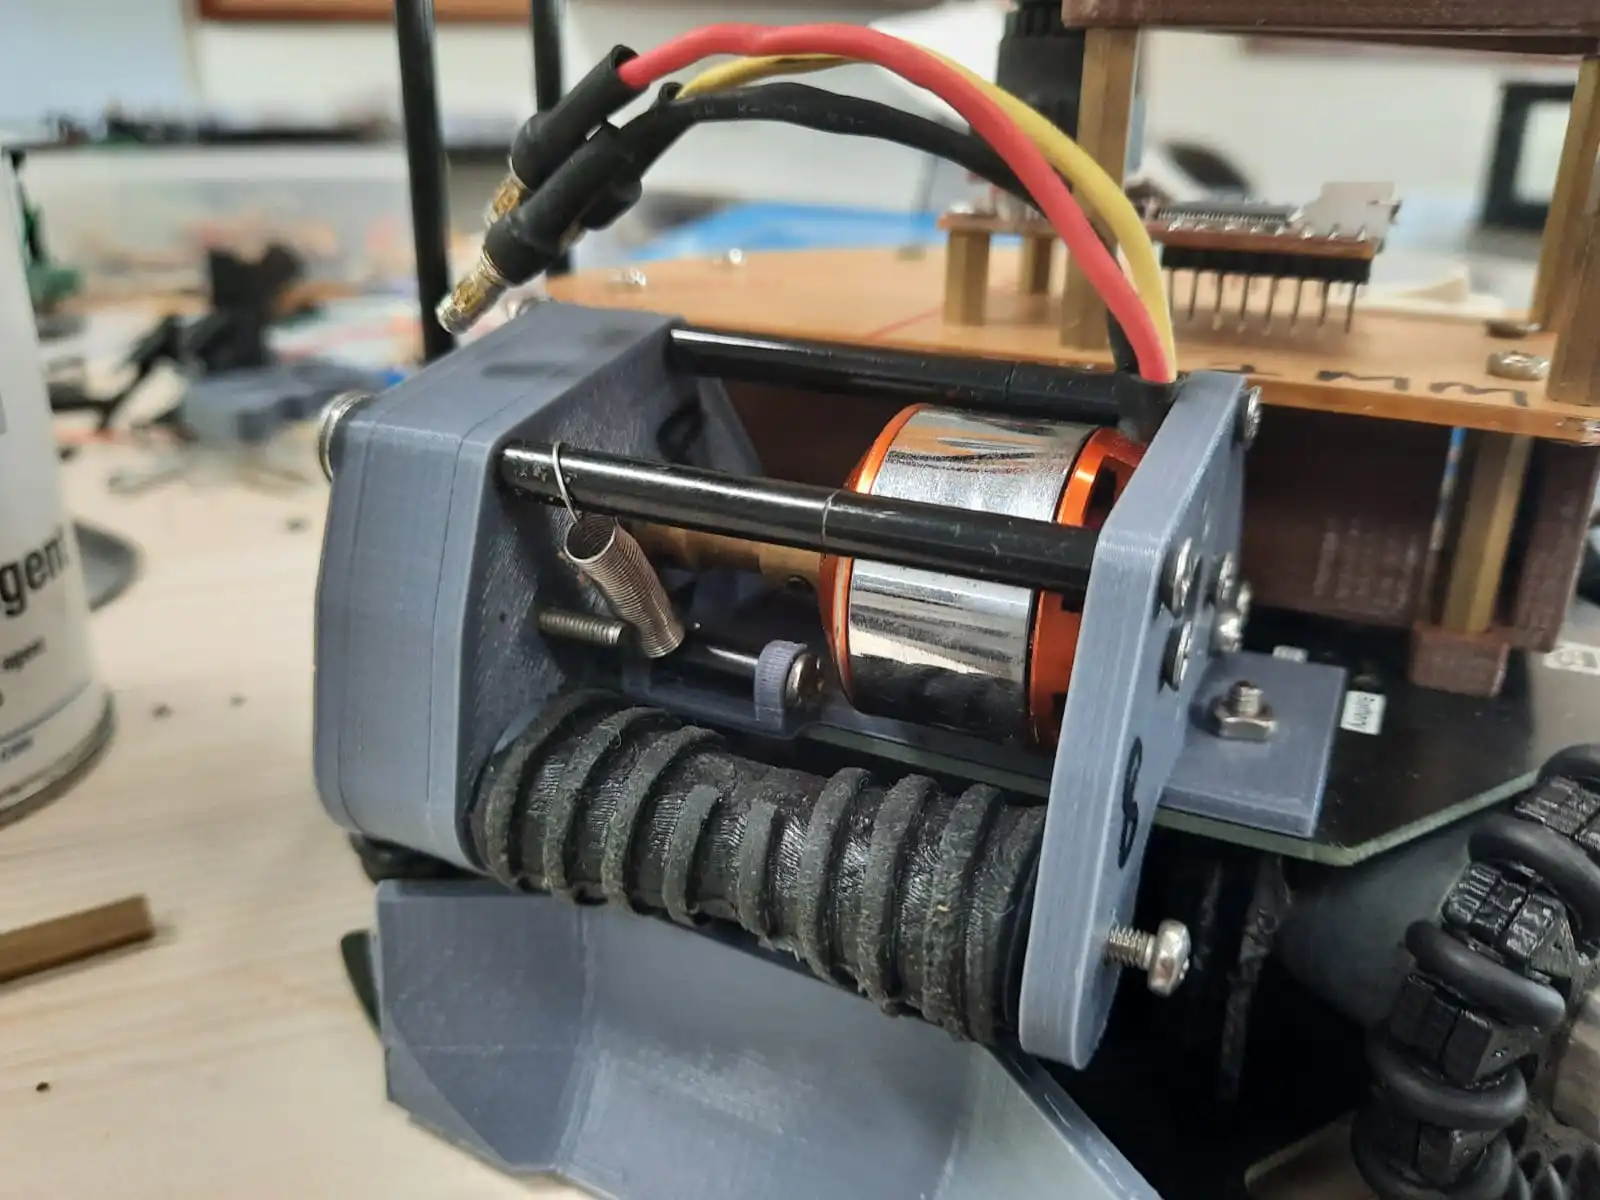
The dribbler body is the backbone of the dribbler. It is quite a simple design. The right side is used to mount the brushless motor and to support the roller, while the left side contains the gearbox. The gear ratio is 1:1.
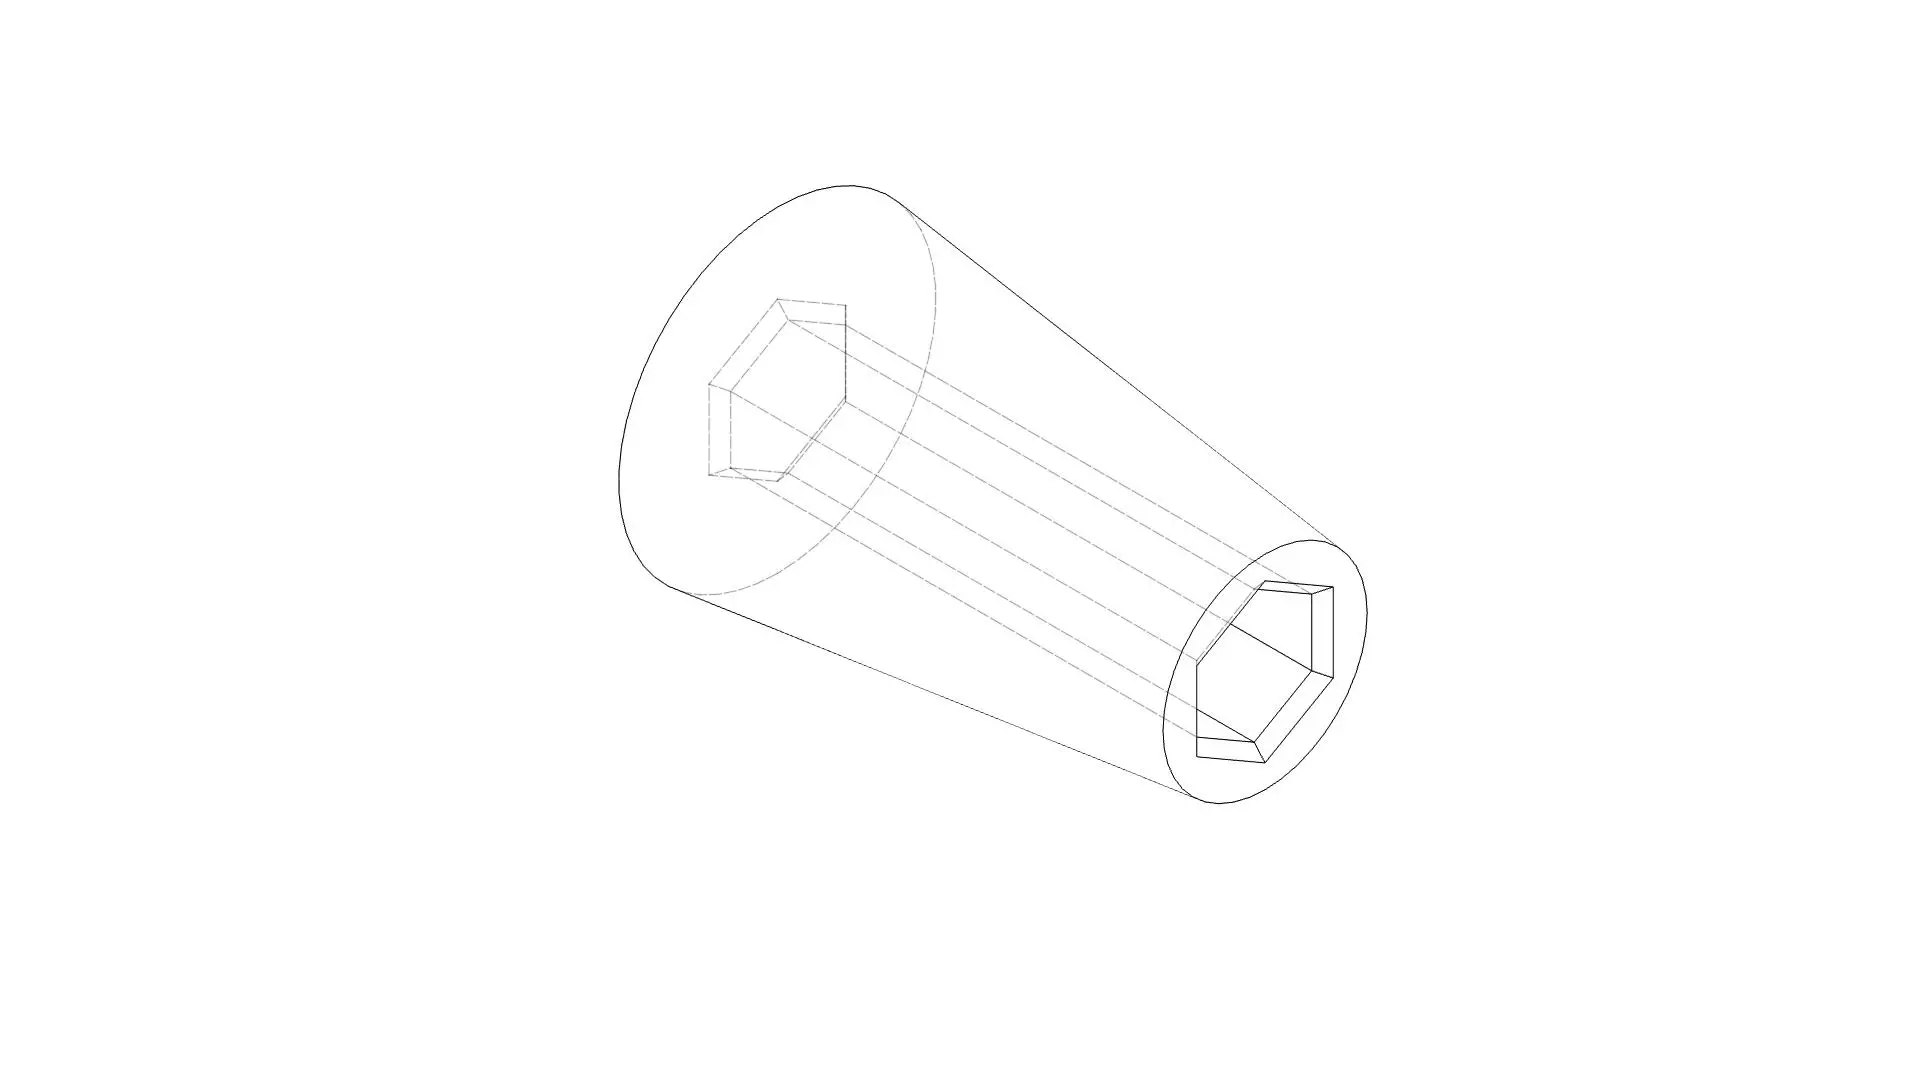
Roller
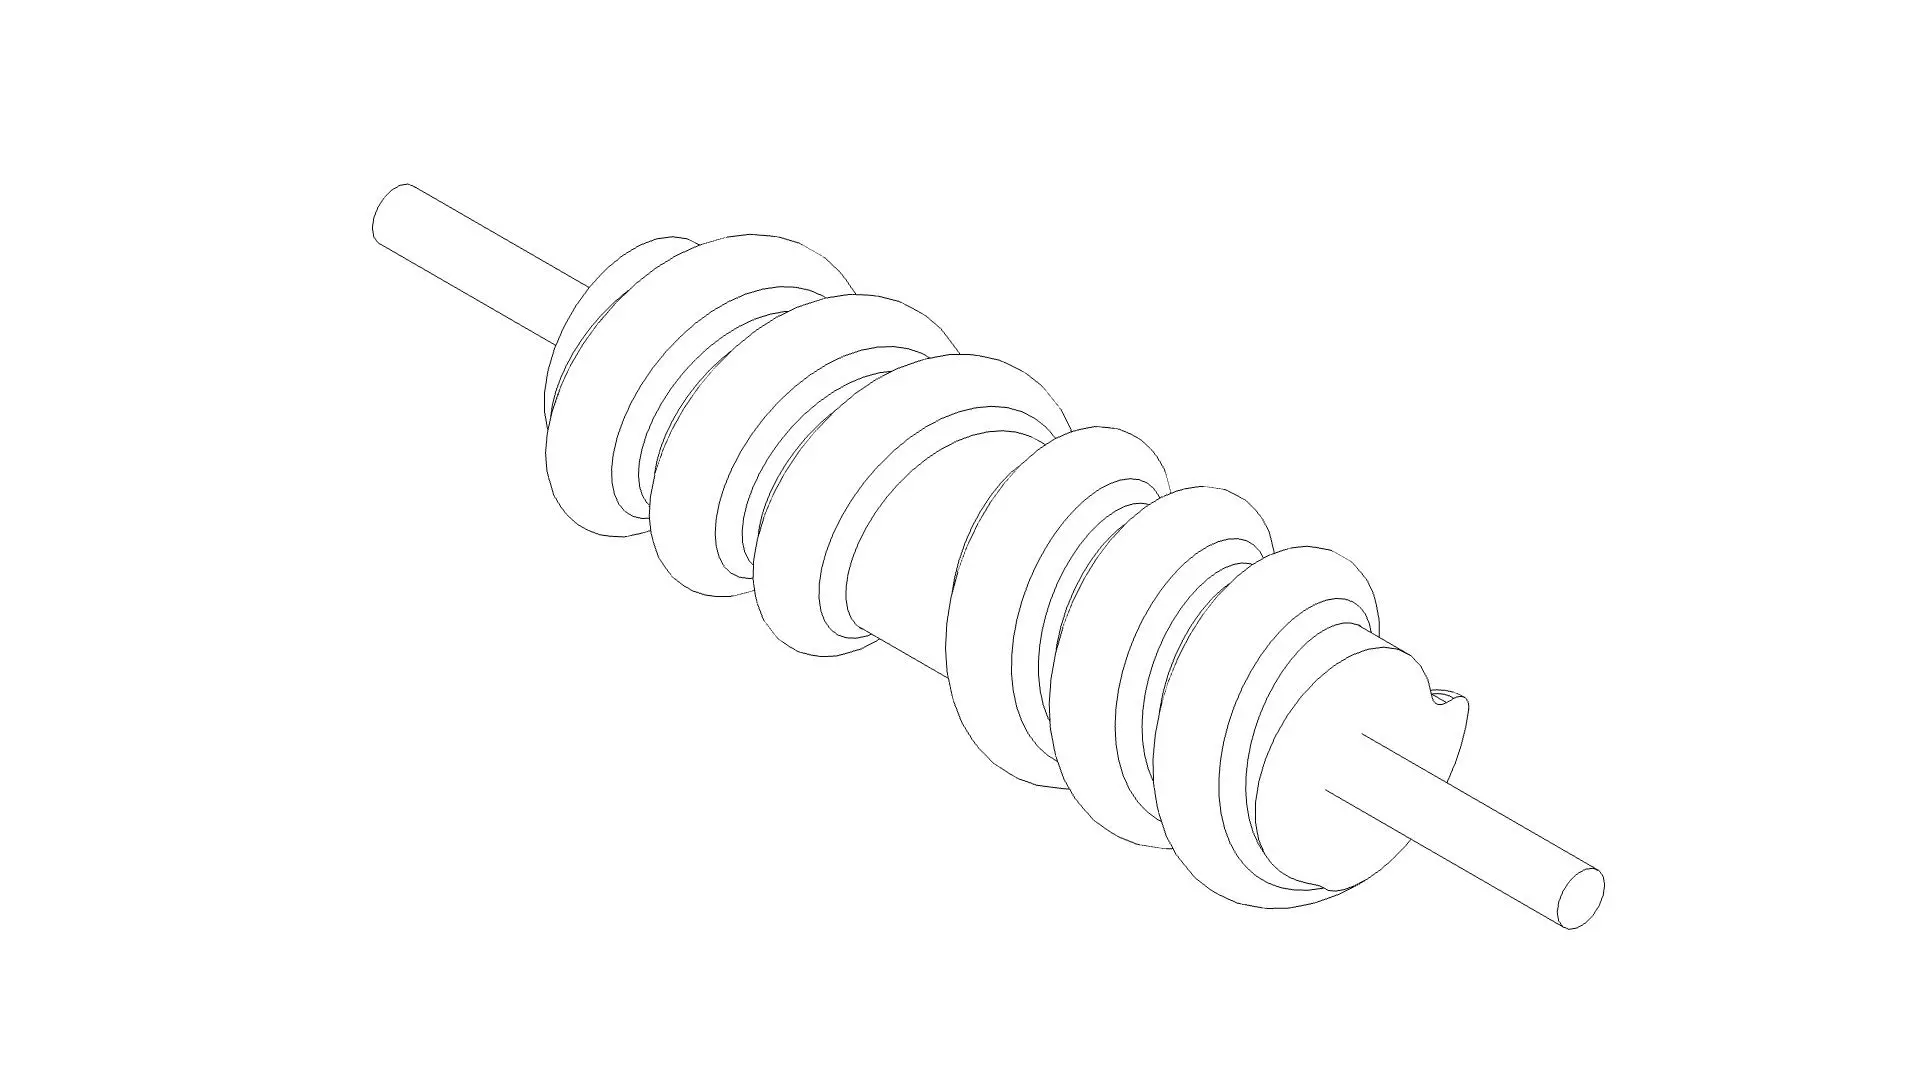
At first, we used a cylindrical roller with threads on its surface, so that the ball can be centralised when the roller is spinning. It was able to centralise the ball, but when the robot was moved sideways, the ball was able to escape.
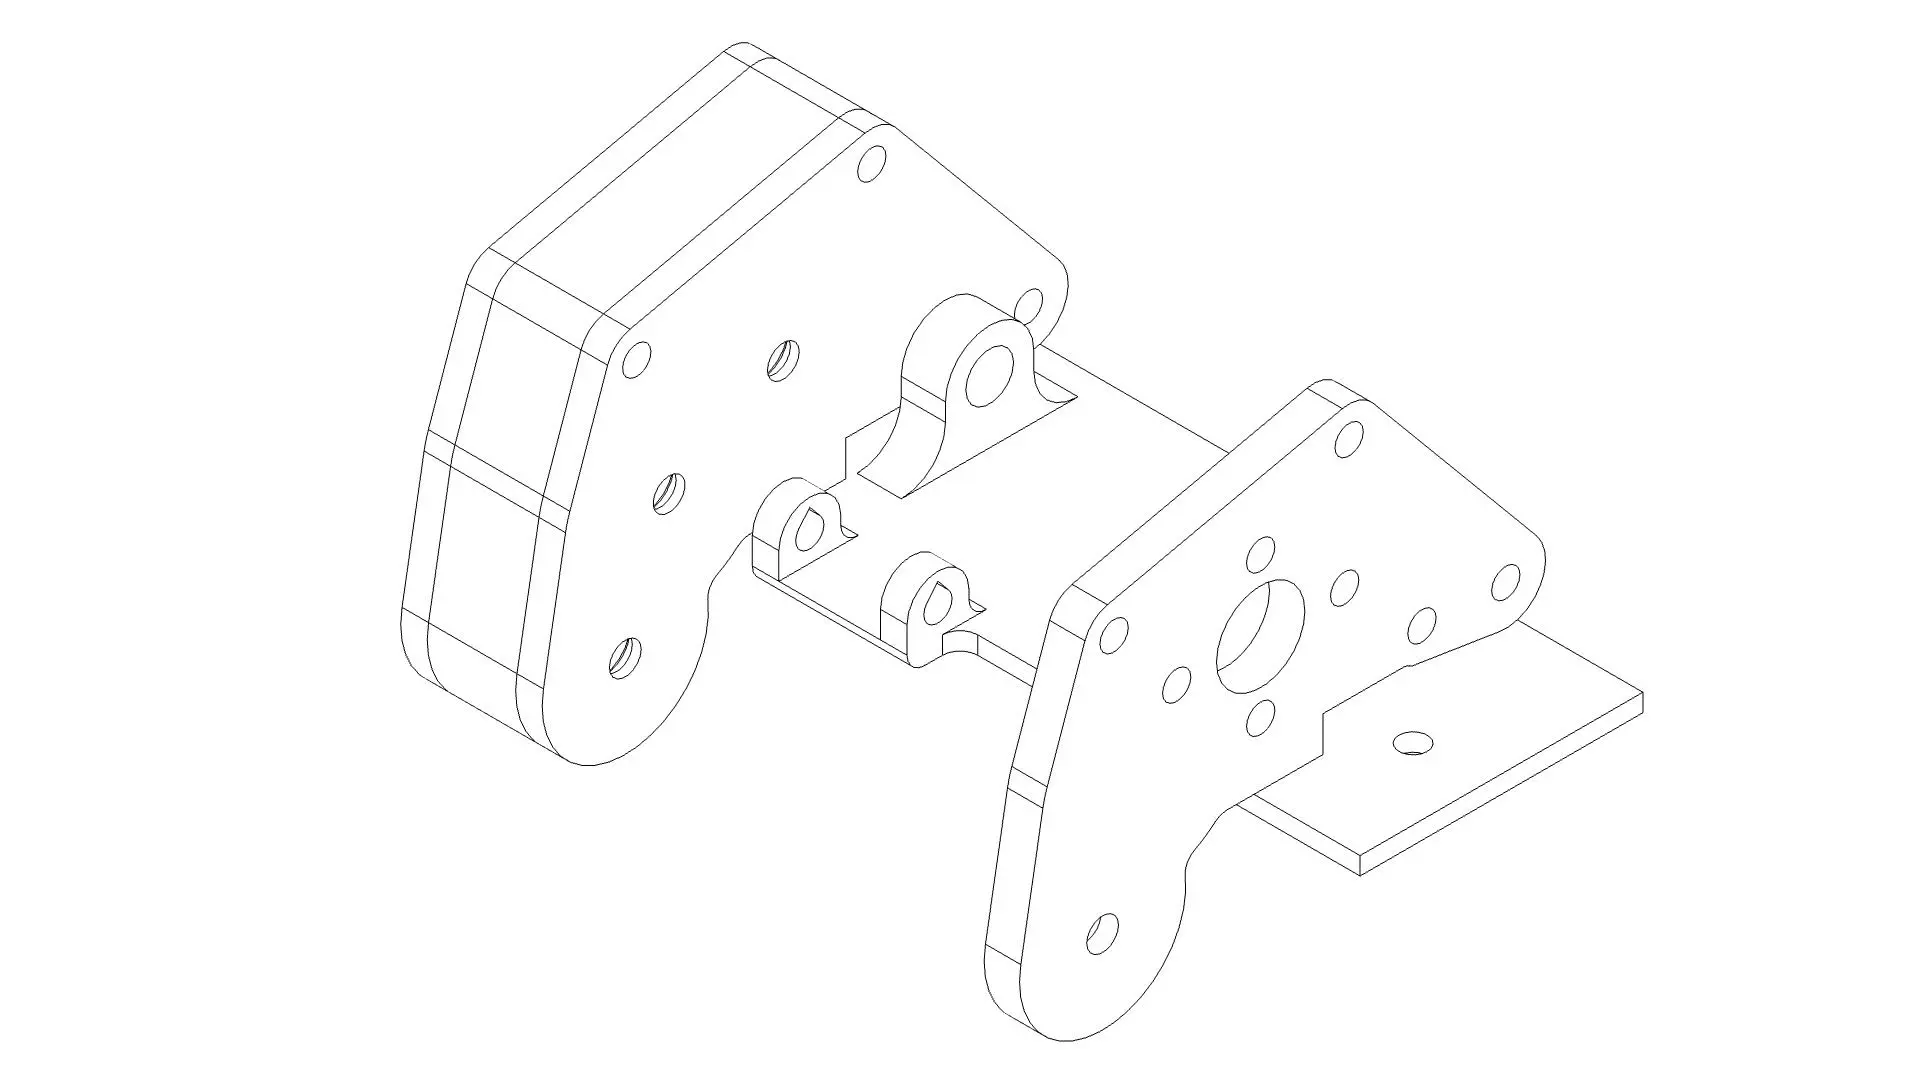
Thus, we changed to using a threaded roller made of 2 cones joined near the tip, which improved sideways movement.
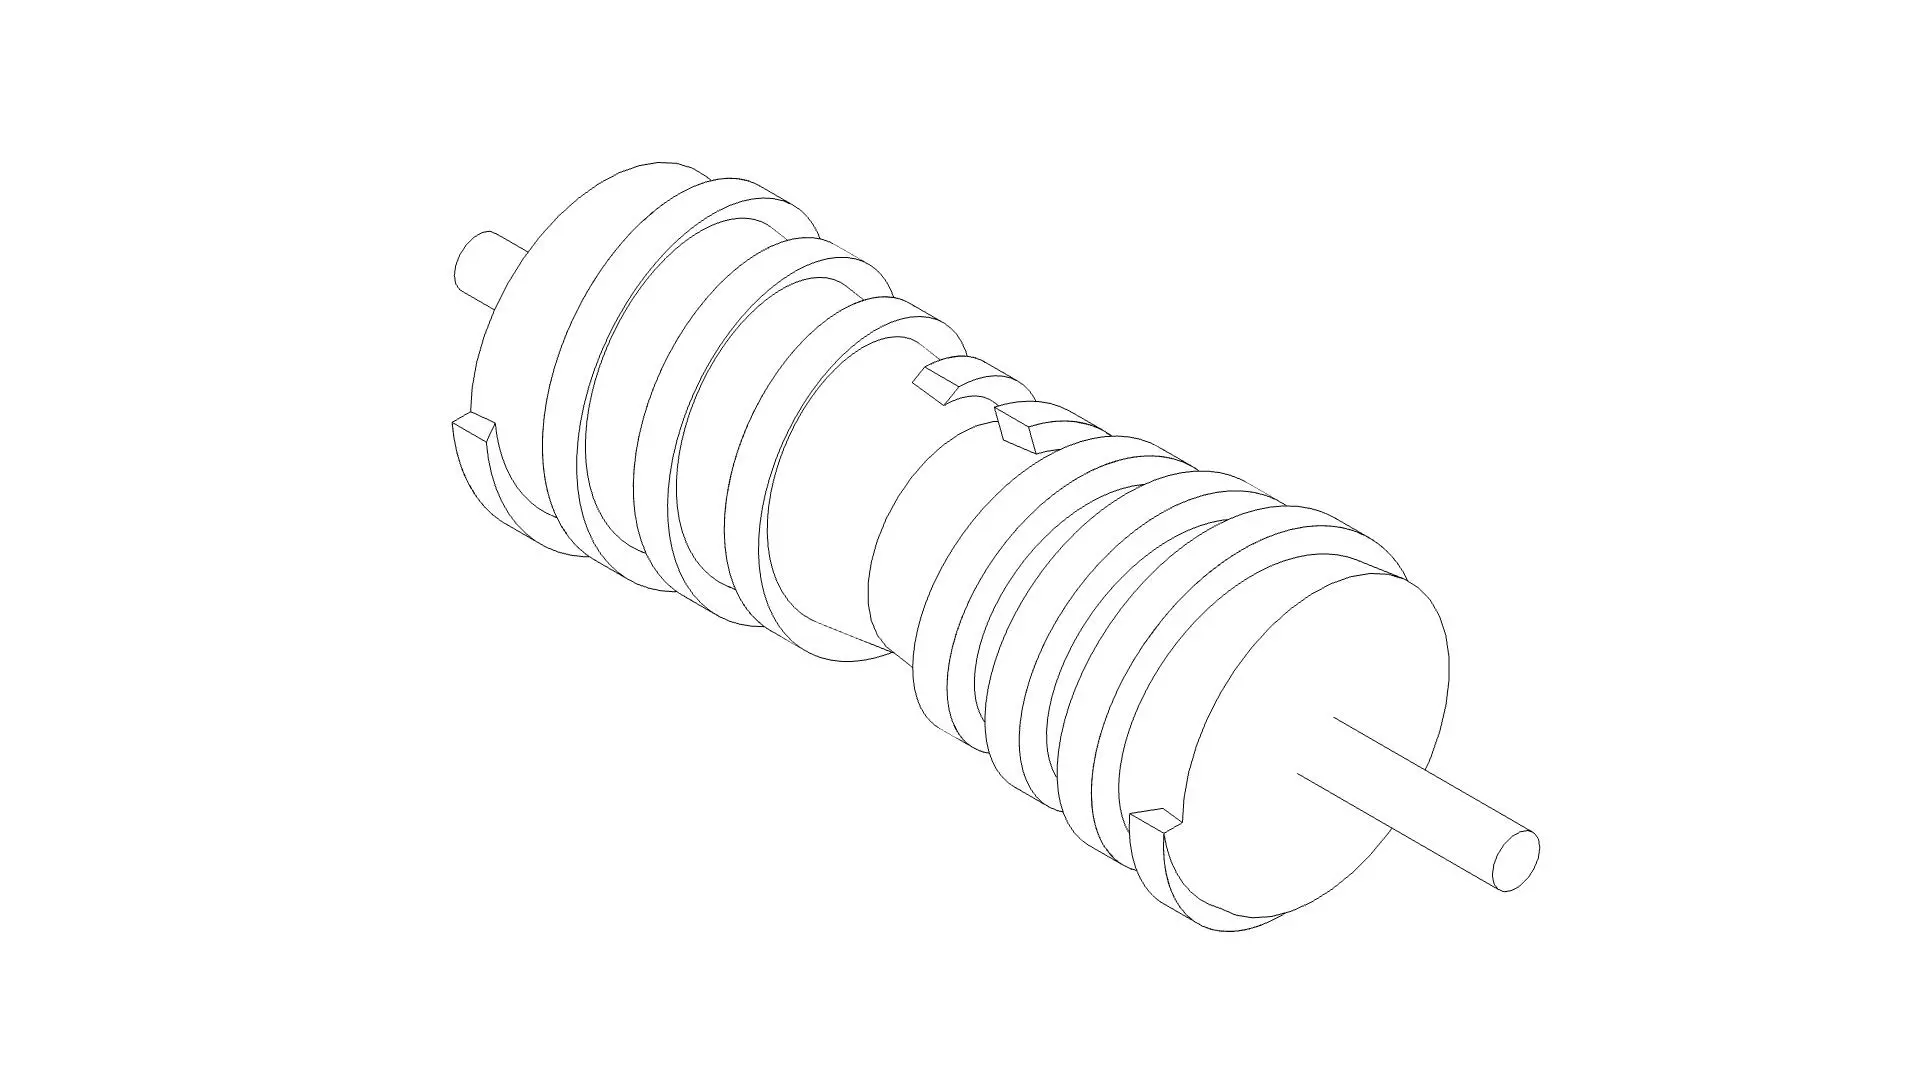
One other problem though is that the thicker end of the conical roller can be compressed, reducing its efficiency. Thus, I deisgned an internal support which follows the shape of the roller, but offsetted inwards by 1.5mm. We also used hex standoffs to prevent slippage.
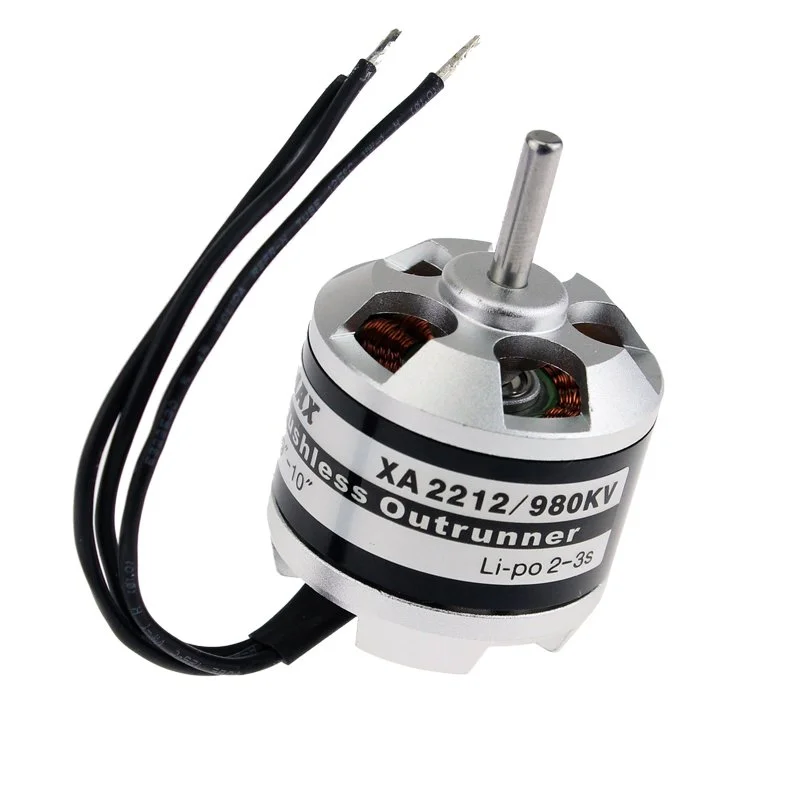
Motor
We are using the emax xa2212 820kv brushless motor. It has a theoretical 9840rpm and sufficient torque to spin the ball on the felt field surface, which meets our needs.
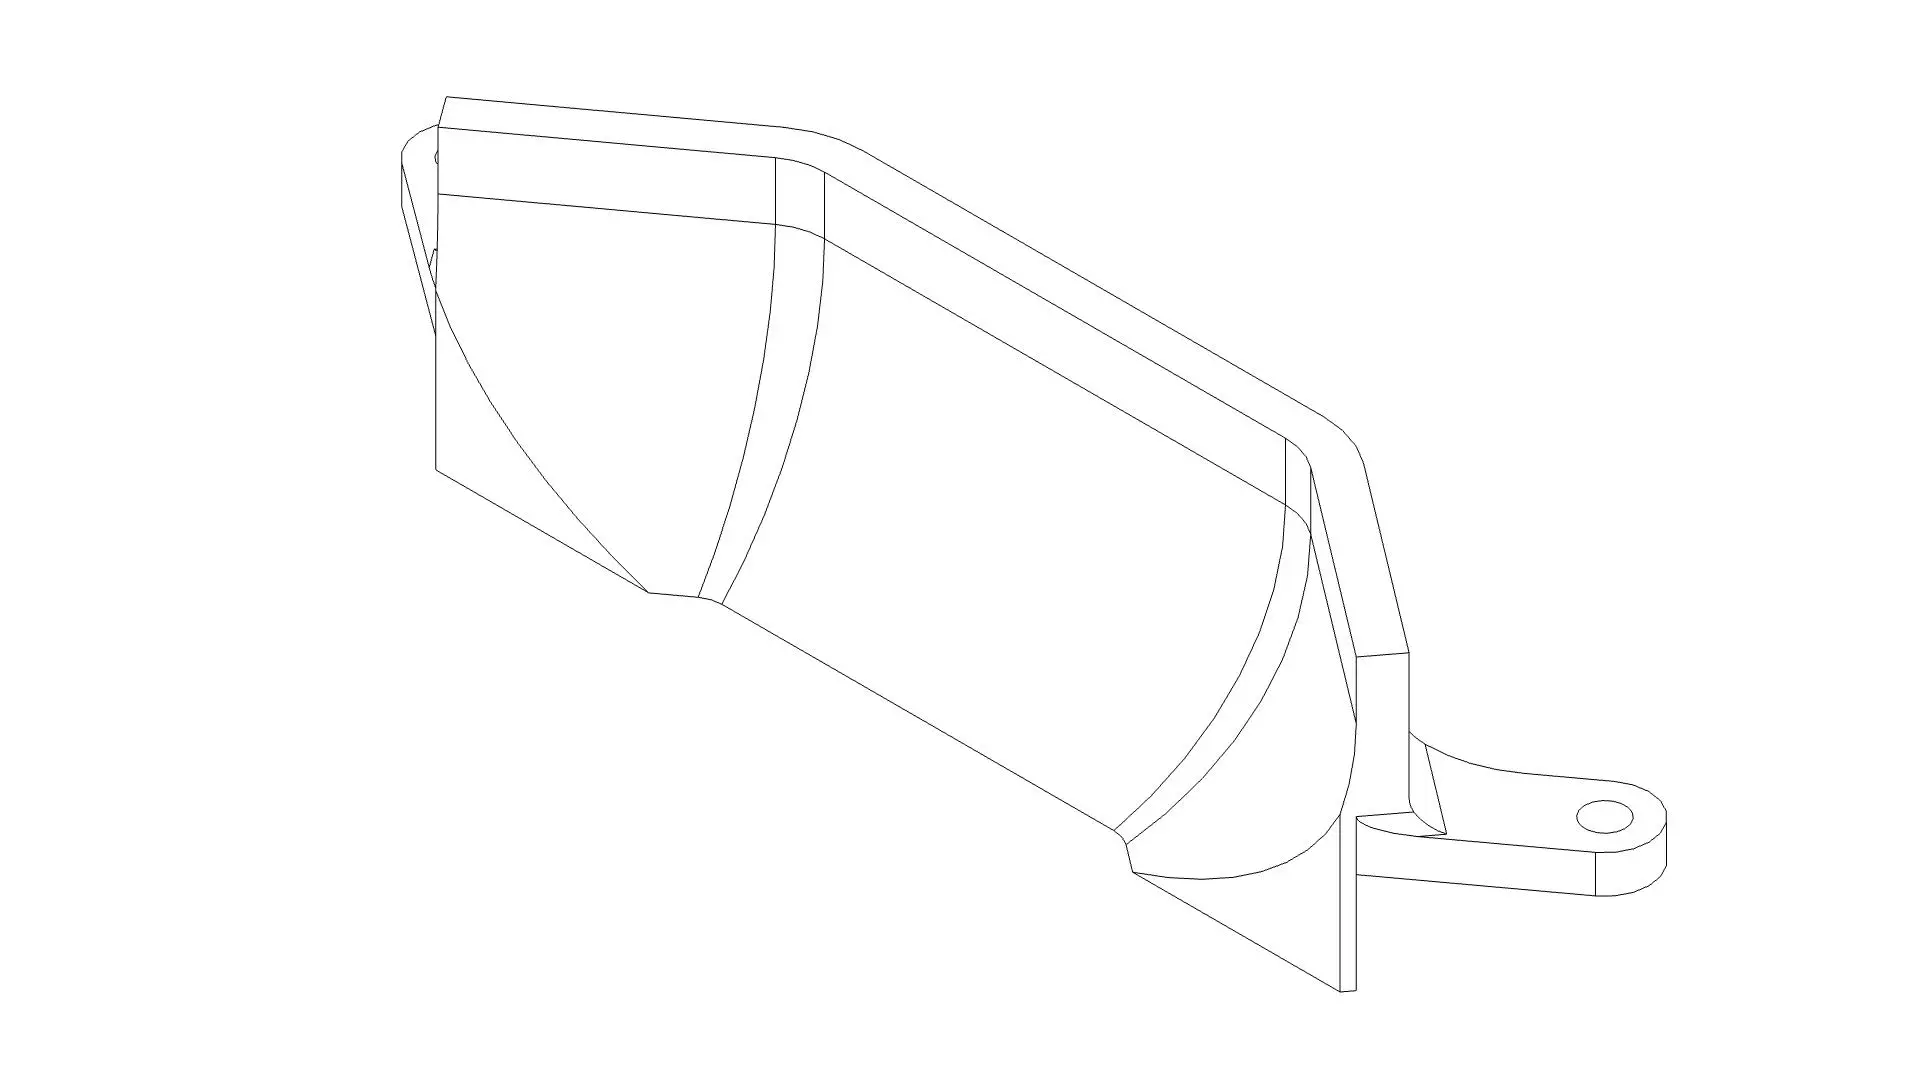
Ramp
One problem we faced was that the bot will lose grip on the ball when it is pulled backwards very fast. We think that is because the only forces exterted on the ball is the vertical normal contact force by the field on the ball, the frictional force opposing the backspin by the field on the ball, the frictional force causing backspin by the roller on the ball, and the outward normal contact force by the weight of the dribbler on the ball. Thus, 2 of the 4 forces are acting against the ball following the bot. The ramp exterts an upward normal contact force on the ball, which increases grip?
Our ramp is moulded based on the shape and size of the ball, and follows the path of the catchment area, which also helps with centralisation and sideways movement.
Suspension
One other problem we observed during testing was that when the ball comes into the dribbler at high speed, it will cause the dribbler to “jump” and lose contact with the ball. When the dribbler falls back down, th weight of it will cause the ball to shoot out. This repeats over and over again, resulting in a very shaky system.
We created a pivot point behind the centre of mass of the dribbler, so that the weight of the dribbler can act on the ball, providing enough grip.
A spring is then added to dampen the force when the ball enters the dribbler, and it also erases major vibrations, for smoother dribbling. We have been experimenting with a random spring we found in the lab but it seems that it doesn’t solve the vibration problem, so we have bought a few from taobao and hopefully they work.
Manufacturing
We manufactured the main body of the dribbler and ball ramp using 3D printing. The brass gears were epoxied to the axels, which results in a very strong chemical bond.
For the roller, we 3D printing a mould for it. We sprayed mould release on the mould and waited for it to dry for about 10 minutes. We then filled the mould with Alraldite silicone sealant, with the internal support and axel on the inner side.