
2D Sketch
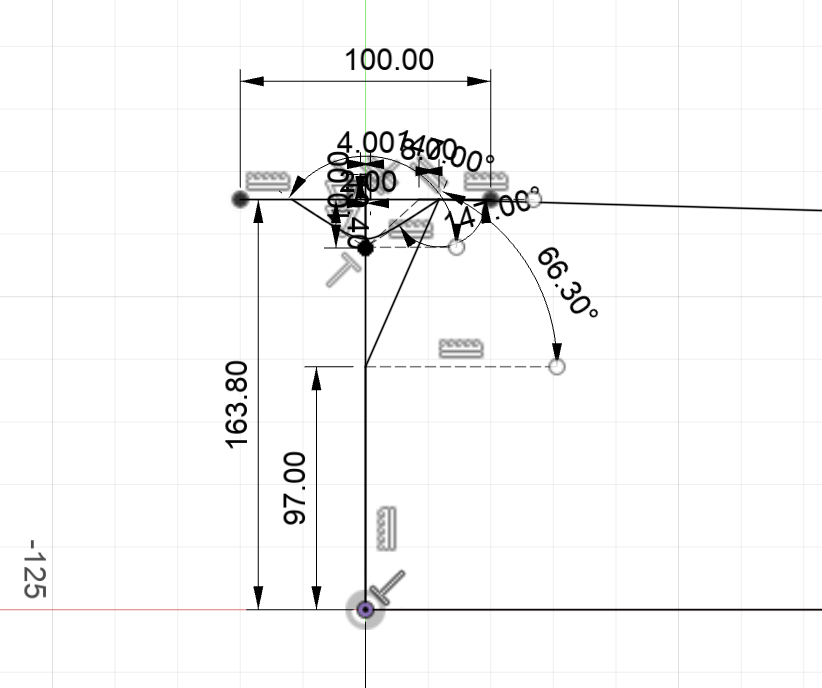
This is a short write-up on how a nmirro The first step is to create a 2D sketch to model light rays entering the camera. After taking into account the maximum fov of the camera, the boundaries for the mirror are set. Next, a hyperbolic line is drawn with a rho value of around 0.8.
Rendering
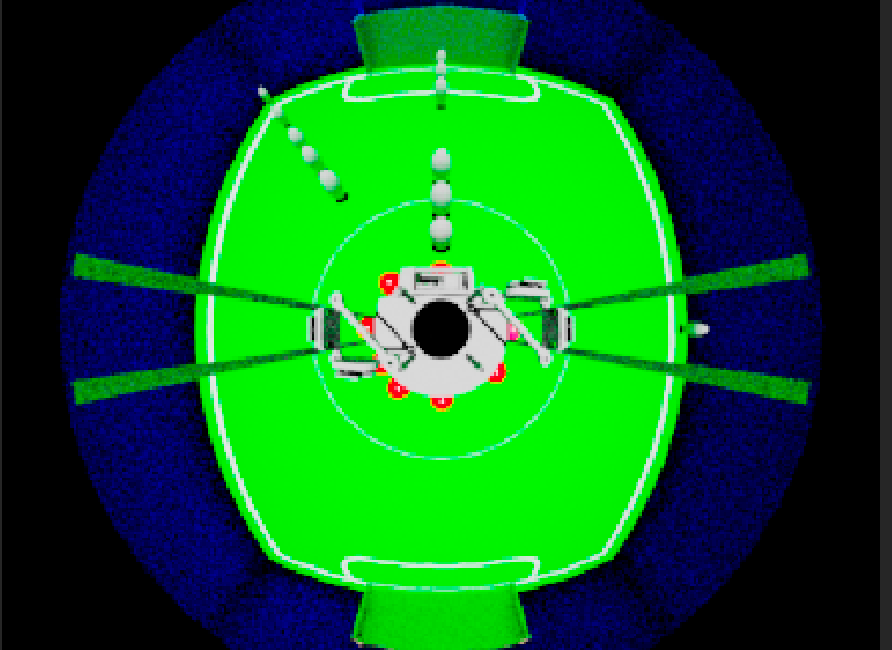
After this, the 2D sketch is modelled into 3D before being exported to Maya where the render takes place. Rendering is the best online version of the real world helps ensure that the mirror is properly designed. Through these simulated images, we can make minor adjustments to the mirror until the mechanical engineer on instinct deems the image produced to be good enough. Finally, the engineer will submit a CNC machining request for the mirror component.