
Manufacturing
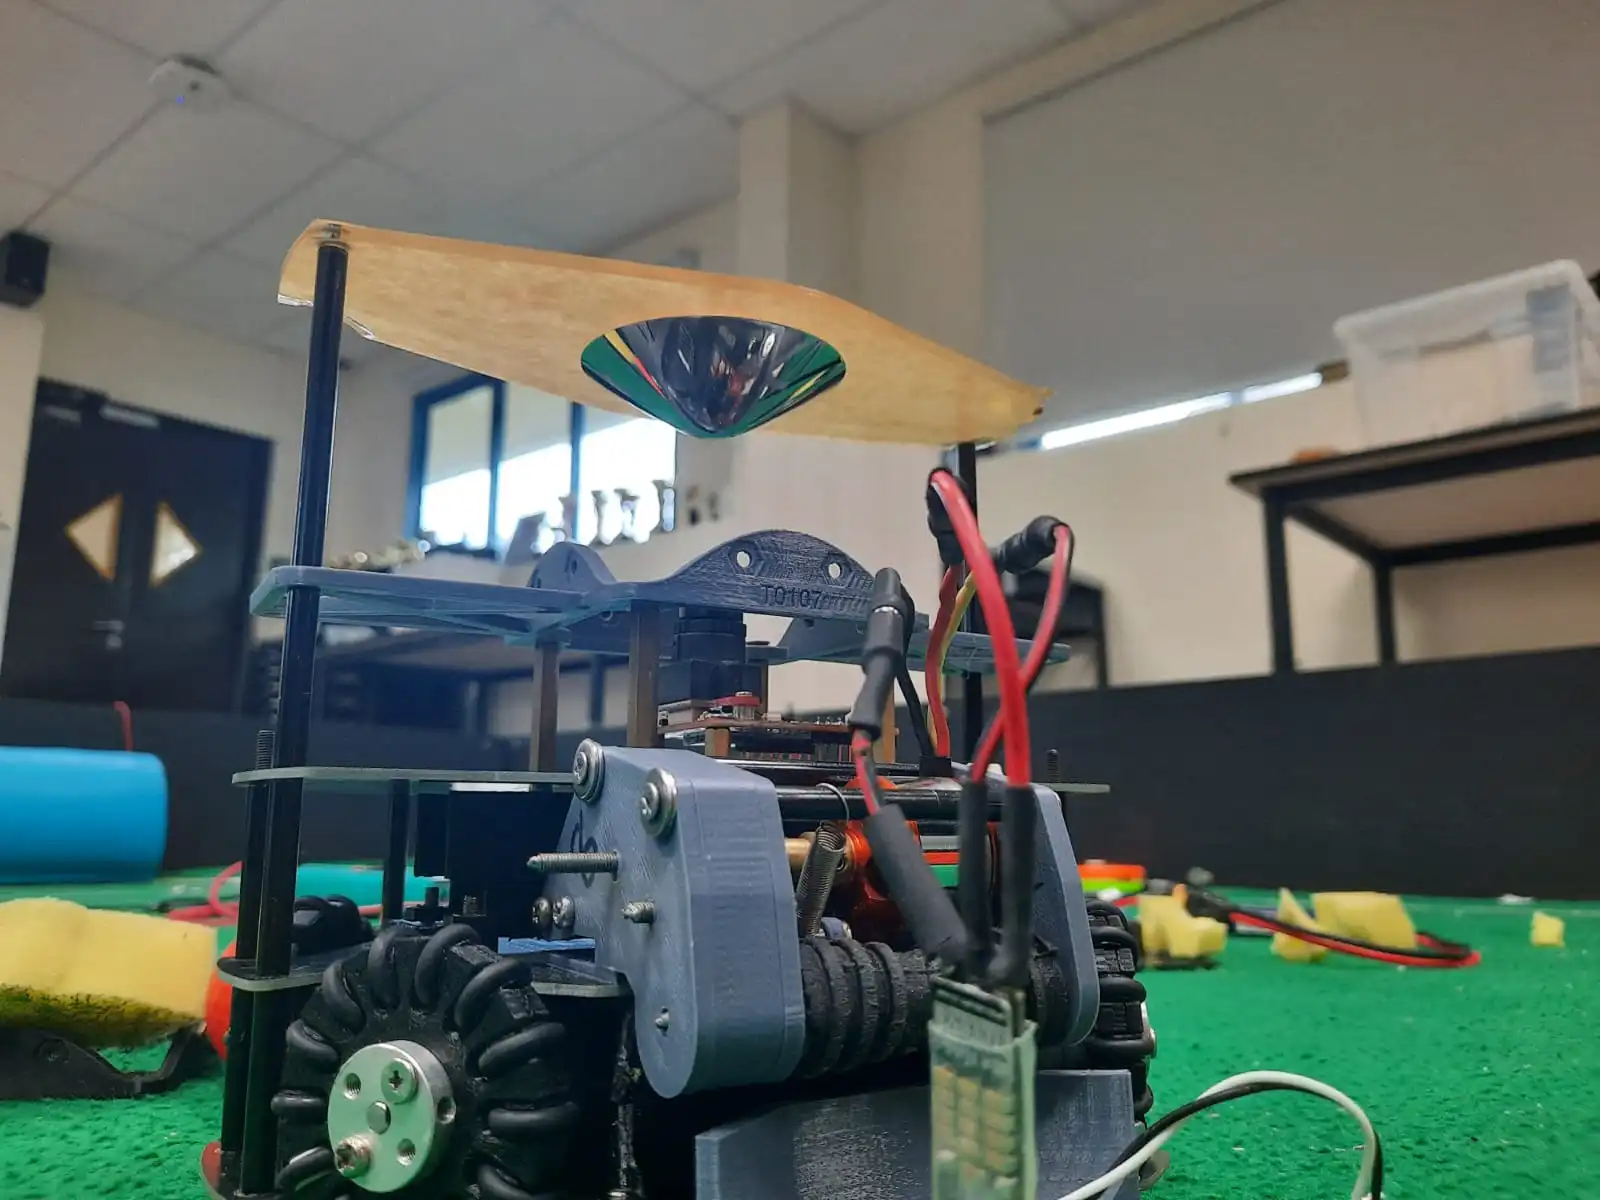
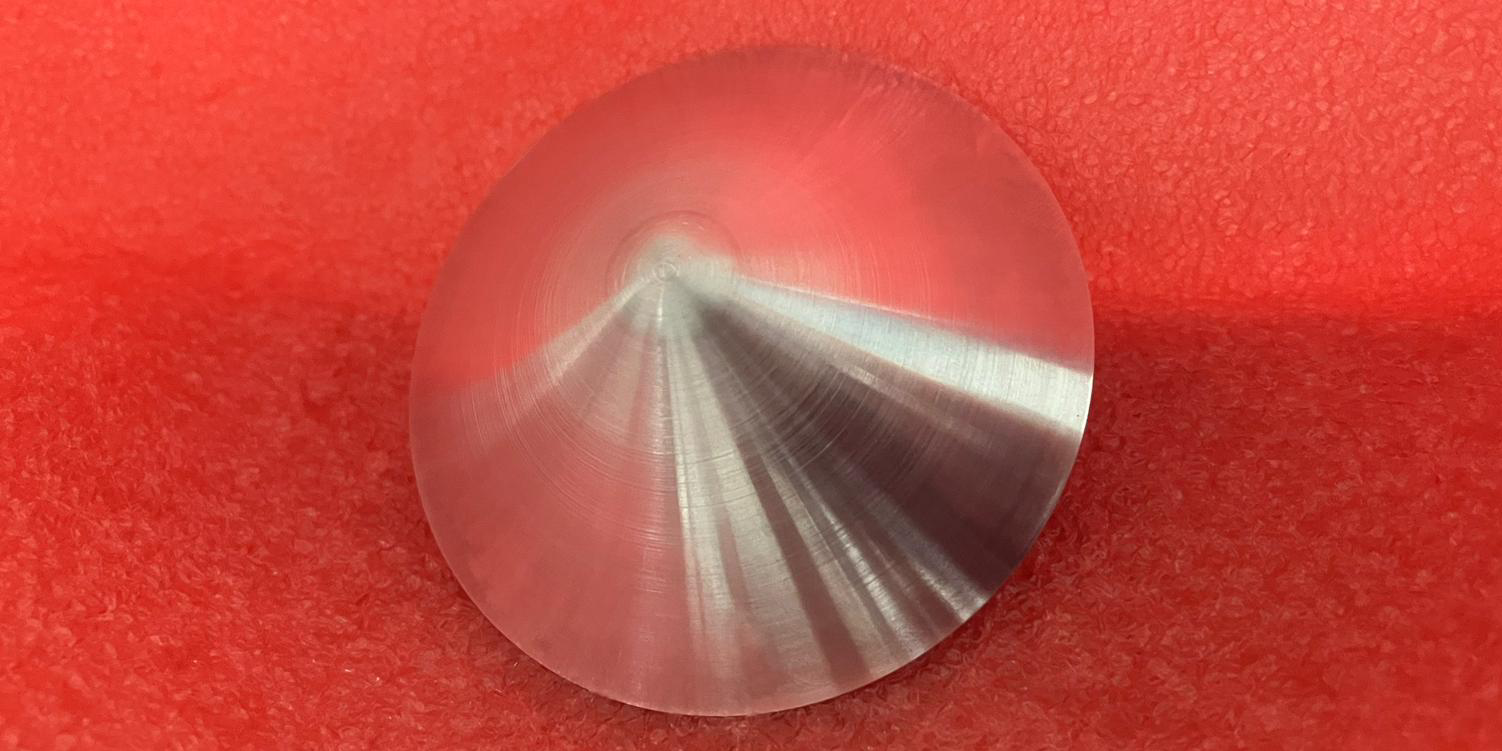
We sent the mirror file to JLCPCB to CNC, and selected the polishing option. We added a 4mm shaft to the top of the mirror to attach to the drill during polishing afterwards, and also so that the mirror can be mounted on the bot with a universal pololu 4mm mounting hub. We expected the mirror to have a mirror finish because they have better polishing equipment, but when we received it it wasn’t up to our expectations. Thus, we had to further polish it.
Wet Sanding
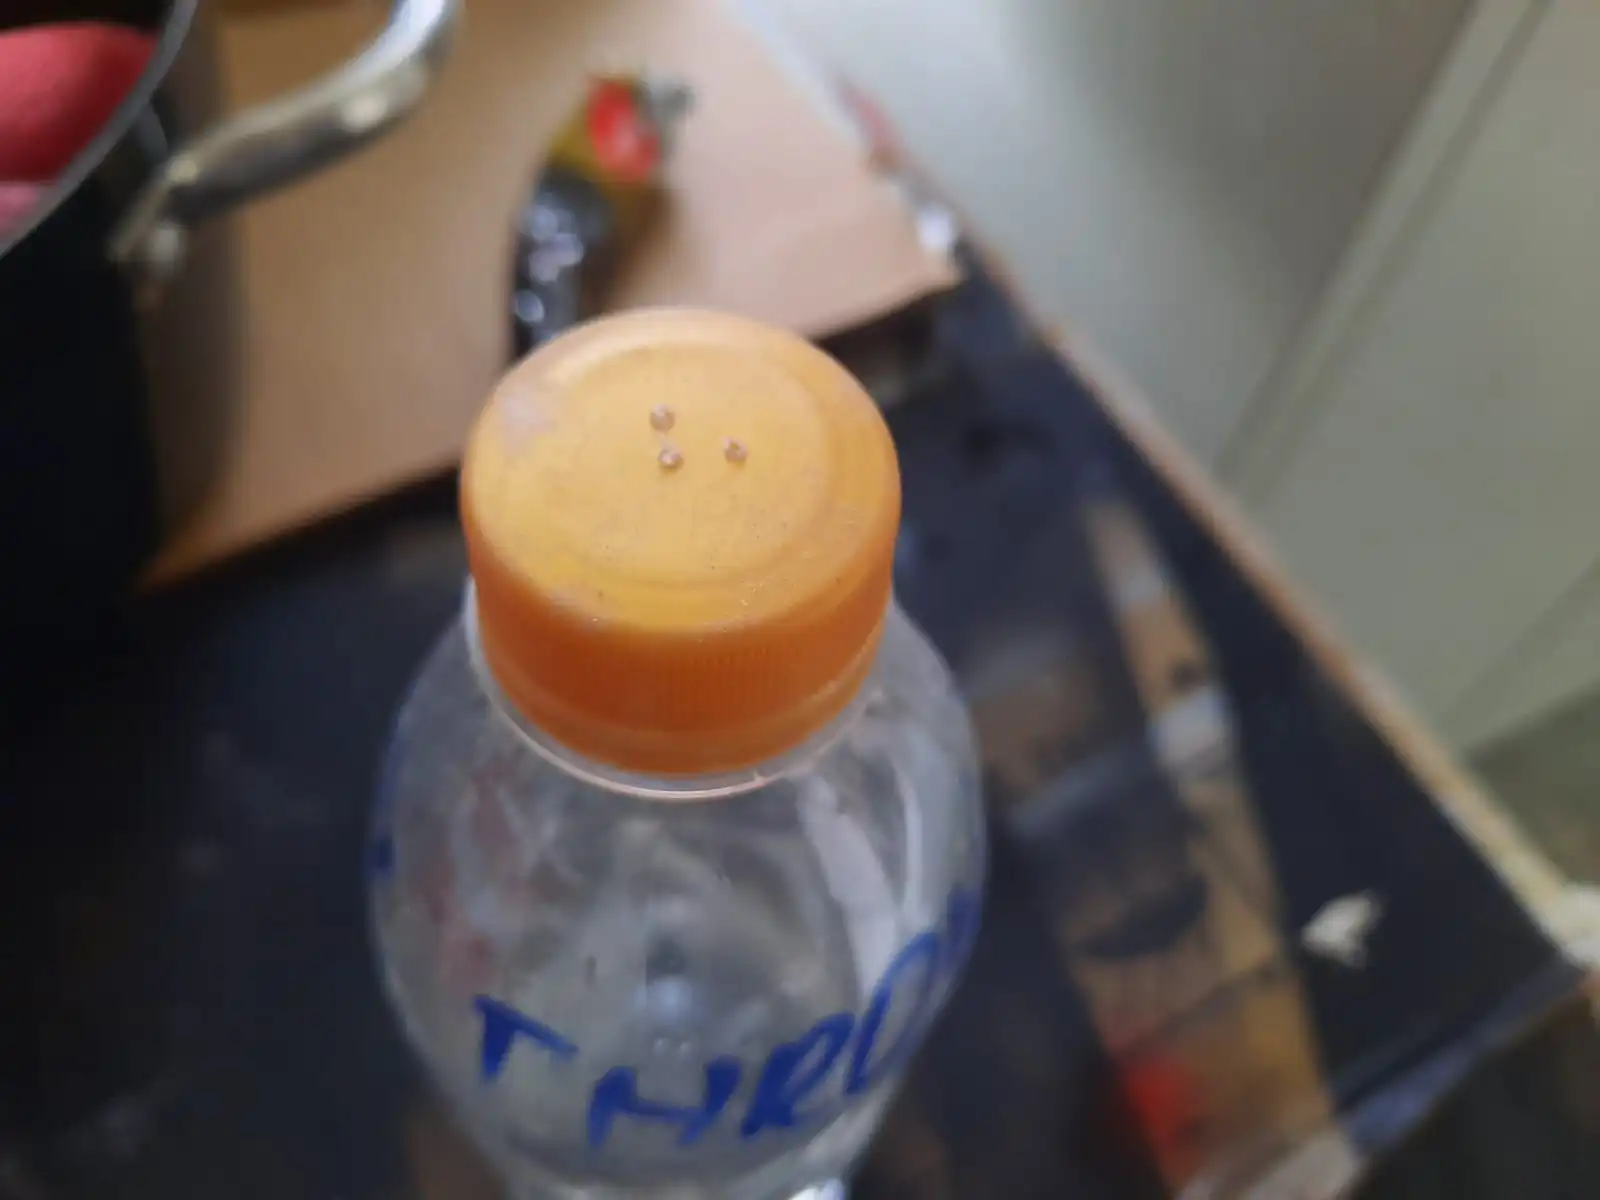
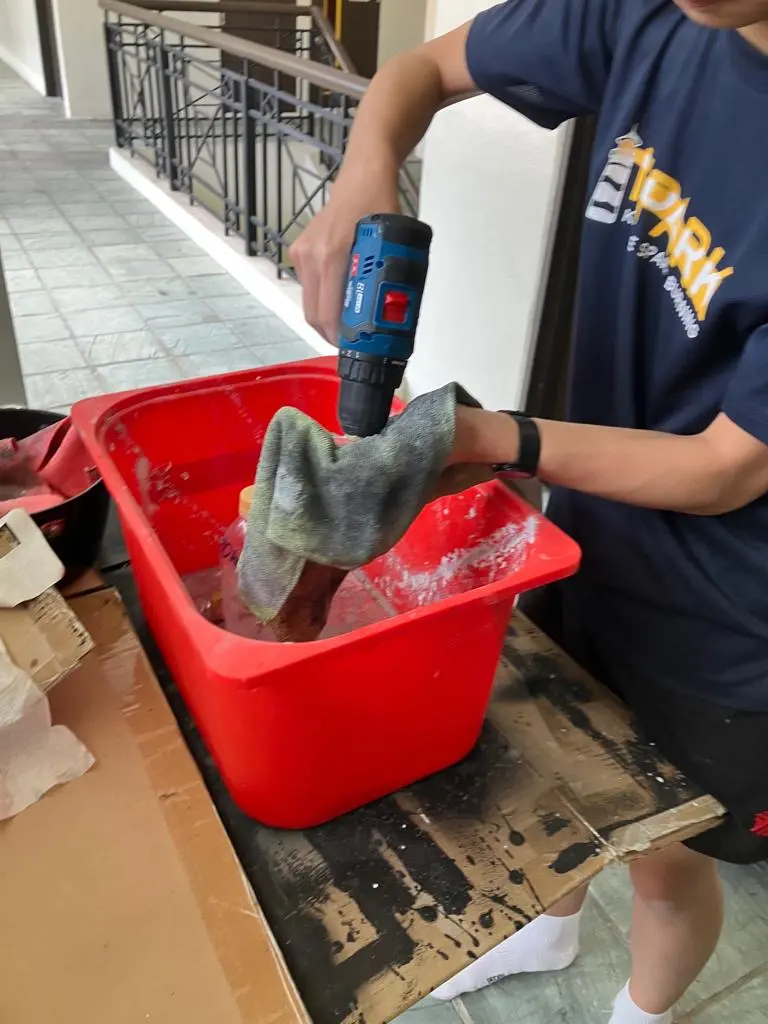
The mirror we received still had visible lines, so we tried to wet sand it with 3000 grit sandpaper, but it only made it worse. Thus, we decided to just to ahead with polishing directly. To sand the mirror, we attached the mirror to the drill. One person would hold the drill while another person would apply pressure on the mirror with the sandpaper, while squirting water on the mirror. We took an empyty plastic bottle, drilled holes in the cap, and filled it with water.
Polishing
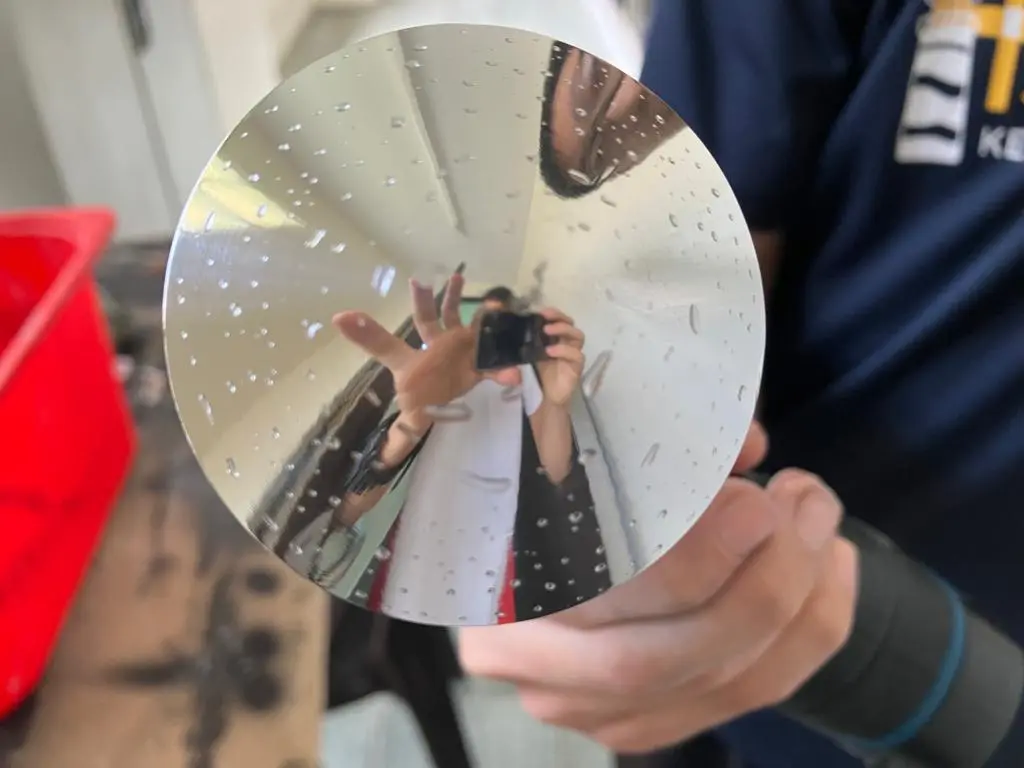
At first, we performed polishing in a similar way to how did sanding, except we squeezed mirror polish on a piece of cloth instead. However, we found that it displayed slow progess in the mirror resolution. Instead, someone will hold the drill in their right hand and hold the cloth in their left hand, while someone else will help to squeeze mirror polish on the cloth and squirt water, to cool down the mirror. It can get quite warm after extended periods of polishing. It is important to apply alot of pressure on the mirror by the cloth, and to ensure that all parts of the mirror (centre, equal, sides) are equally polished. We had to repeat this process several times for about 10 minutes until we achieved resonable resolution.
Conclusion
It saves quite alot of time by selecting the polishing option when purchasing your mirror with JLCPCB, but depends on whether you hae the budget. If not, you can sand the mirror manually in a similar way to polishing, starting from a low grit (around 150) and slowly working your way up to 3000 grit. Ensure that the rough lines on the mirror are in a circular fashion, which indicates evenness in the sanding, which will produce a good even image when all is done. Don’t be afraid to use alot of mirror polish during polishing because you may have to go through many rounds of polishing to achieve a perfect image. It is very important to sand and polish the whole mirror evenly so that you don’t get regions that are extremely shiny and regions that are duller. You can do this by occasionally checking the mirror and selectively applying pressure to certain parts of the mirror.